
Understanding Dual Monitors
A dual monitor setup can significantly enhance productivity and streamline workflows by allowing users to expand their desktop environment. This configuration enables the display of more information side-by-side, facilitating multitasking that is especially beneficial for professionals in design, programming, and various other fields. If you’re considering a dual monitor install, understanding the fundamental aspects of dual monitors is crucial for a smooth setup.
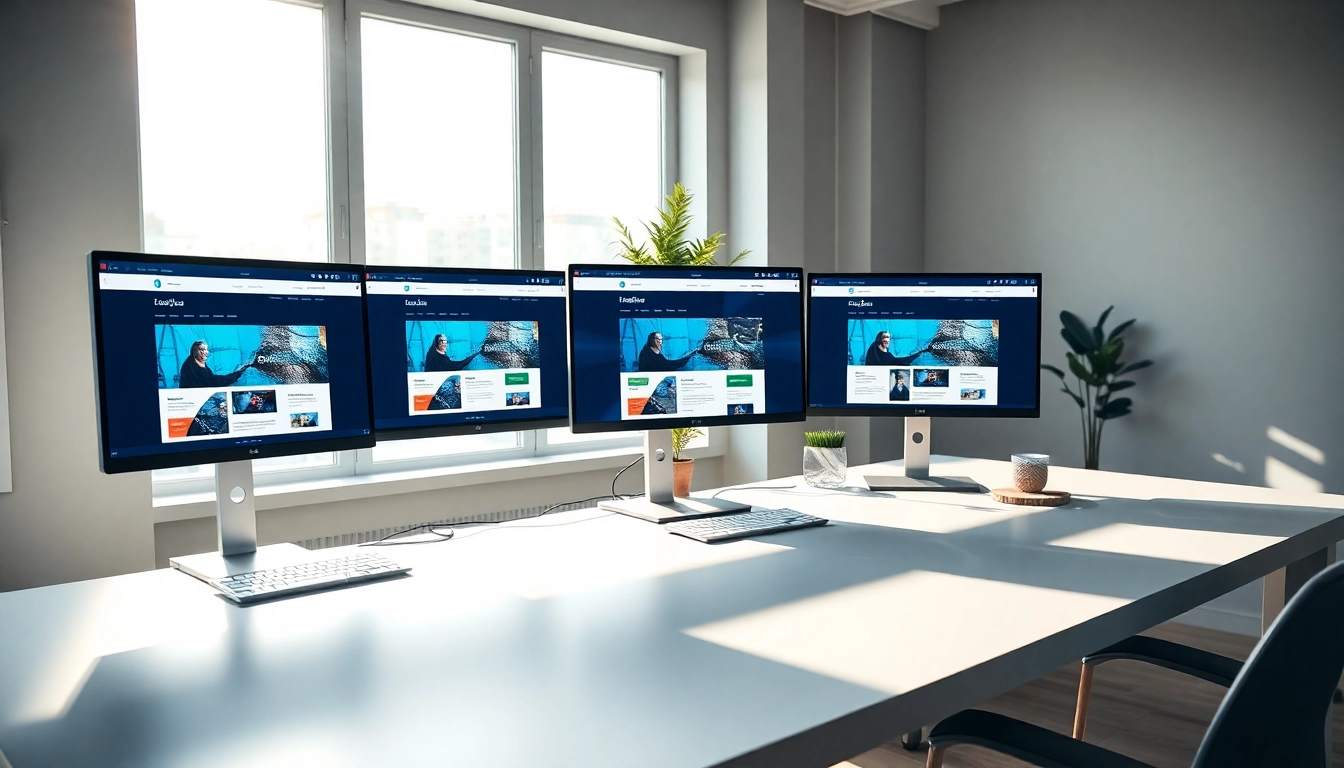
What is a Dual Monitor Install?
A dual monitor install involves connecting two displays to a single computer system, allowing both to serve as extended workspaces. This configuration not only increases the visible area of your workspace but also enables better organization of applications, documents, and tasks. Essentially, it transforms your conventional workspace, providing a more immersive experience that caters to a variety of computing needs, from gaming to professional architecture and engineering tasks.
Benefits of Using Dual Monitors
- Increased Productivity: Users often report a significant boost in productivity due to reduced time spent switching between applications.
- Better Multitasking: Dual monitors allow for simultaneous viewing of multiple programs, enhancing workflow efficiency.
- Enhanced Comfort: With more screen real estate, users can avoid cluttered screens, reducing eye strain and improving comfort during long work sessions.
- Better Collaboration: Whether in meetings or collaborative tasks, having two screens facilitates easier sharing of information.
Compatible Systems and Requirements
Before setting up dual monitors, it’s essential to ensure that your computer system is compatible. Most modern desktops and laptops can support dual monitor functionality, but it is crucial to check the following:
- Ports Available: Ensure that your computer has the necessary ports (HDMI, DisplayPort, DVI, VGA) to connect both monitors.
- Graphics Card Capability: Confirm that your graphics card can handle multiple output displays. A simple check of the manufacturer’s specifications will provide this information.
- Operating System Support: Verify that your operating system supports dual displays, typically found in Windows, macOS, and Linux environments.
Preparing for Your Dual Monitor Install
Checking Computer Compatibility
The first step in preparing for a dual monitor installation is to check for compatibility with your computer’s hardware. Start by examining the back of your desktop or the sides of your laptop for available display ports. You can typically find this in your device’s manual or through the manufacturer’s website.
Essential Equipment for Installation
Once compatibility is confirmed, gather your equipment:
- Monitors: Choose two monitors that meet your resolution and size preferences. Consider whether you want identical models or if one will serve a different purpose (e.g., a larger screen for design work).
- Cables: Depending on the monitor and computer connection types (e.g., HDMI to HDMI, DisplayPort to DisplayPort), ensure you have the right cables.
- Adapters: If your monitors and computer have different ports, you may require adapters (e.g., HDMI to DisplayPort).
- Mounts/Stand: If desk space is a concern, consider using a dual monitor mount or stand to save space and allow for better screen positioning.
Choosing the Right Monitors
Selecting the right monitors is essential for an effective dual monitor install. Key factors to consider include:
- Size: The size of the monitors should complement the available desk space without overwhelming your workspace.
- Resolution: Aim for monitors with at least Full HD (1920×1080) resolution to ensure clear and crisp visuals.
- Refresh Rate: If gaming or high-motion video playback is a priority, consider monitors with higher refresh rates (60Hz or better).
- Aspect Ratio: A standard aspect ratio is 16:9, but ultra-wide monitors (21:9) can provide even more horizontal space.
Step-by-Step Dual Monitor Setup
Connecting Your Monitors
With your equipment in hand, it’s time to set up your monitors:
- Begin by powering off your computer and both monitors.
- Connect each monitor to your computer using the appropriate cables. If using multiple types of connections (e.g., HDMI and DisplayPort), ensure they are correctly set into their respective ports.
- Power on the monitors first, followed by your computer. The operating system should automatically recognize the new monitors.
Configuring Display Settings in Windows
After connecting the monitors, you must configure the display settings:
- Select Start > Settings > System > Display.
- Identify your monitors in the “Display” settings. They might show up as “1” and “2.” It helps to physically identify them by dragging a window from one to the other.
- Adjust the display order if necessary by dragging the monitors into the correct position, ensuring the arrangement matches your setup.
- Choose between “Extend” and “Duplicate” for how you’d like the displays to function. “Extend” is recommended for most dual monitor setups.
- Finally, adjust brightness and scaling as needed for each display for optimal viewing comfort.
Troubleshooting Common Setup Issues
Even with the best preparations, issues can arise during setup. Here are common problems and solutions:
- Monitor Not Detected: Check the cable connections and ensure that the monitors are powered on. Restarting your computer may help.
- Resolution Issues: If the display looks pixelated or blurry, ensure that the resolution is set to the recommended setting in Display Settings.
- Driver Problems: Outdated graphics drivers can cause issues. Be sure to check for updates from your graphics card manufacturer.
Optimizing Your Workspace
Arranging Monitors for Maximum Efficiency
Proper arrangement of your monitors can vastly improve efficiency:
- Positioning: Ideally, position both monitors at eye level and within comfortable reach. The main display should be directly in front and the secondary display to the side.
- Adjusting Angles: Tilt and rotate the monitors for optimal viewing angles and to reduce glare from overhead lights.
Adjusting Display Settings for Comfort
After setting up your workspace, don’t forget to adjust display settings for personal comfort:
- Brightness Control: Ensure that the brightness level of both monitors is comparable to avoid eye strain.
- Color Calibration: Some monitors have options for adjusting color temperature and contrast. This can enhance visual comfort during extended use.
Utilizing Software for Enhanced Productivity
There are various software tools available that can enhance your dual monitor experience:
- Window Management Tools: Programs like DisplayFusion or AquaSnap allow for more efficient window organization across multiple screens.
- Virtual Desktops: Windows 10 and 11 have built-in virtual desktop features that allow you to organize work into different desktops while still using multiple monitors.
Maintaining Your Dual Monitor Setup
Regular Checks for Hardware Functionality
To ensure longevity and reliability, regularly check your hardware:
- Visual Inspections: Periodically look for wear and tear on cables and ports.
- Monitor Performance: Be attentive to any flickering or performance drops, which may indicate hardware issues.
Updating Software and Drivers
Keep your graphics drivers and any associated software up to date to maintain optimal performance:
- Automatic Updates: Enable automatic updates for your operating system and graphics driver to ensure you receive the latest patches and improvements.
- Manual Checking: Regularly check the manufacturer’s website for any new driver releases or software updates that may improve performance.
Tips for a Long-Lasting Setup
Implement practices to extend the life of your dual monitor setup:
- Proper Shutdown: Always use proper shutdown procedures to prevent hardware damage from abrupt power loss.
- Safe Cable Management: Use cable ties or sleeves to prevent tangling and fraying that can occur with less organized setups.
- Clean Screens Regularly: Dust and grime can affect visibility. Use proper cleaning solutions and soft cloths for routine cleaning.


Leave a Reply